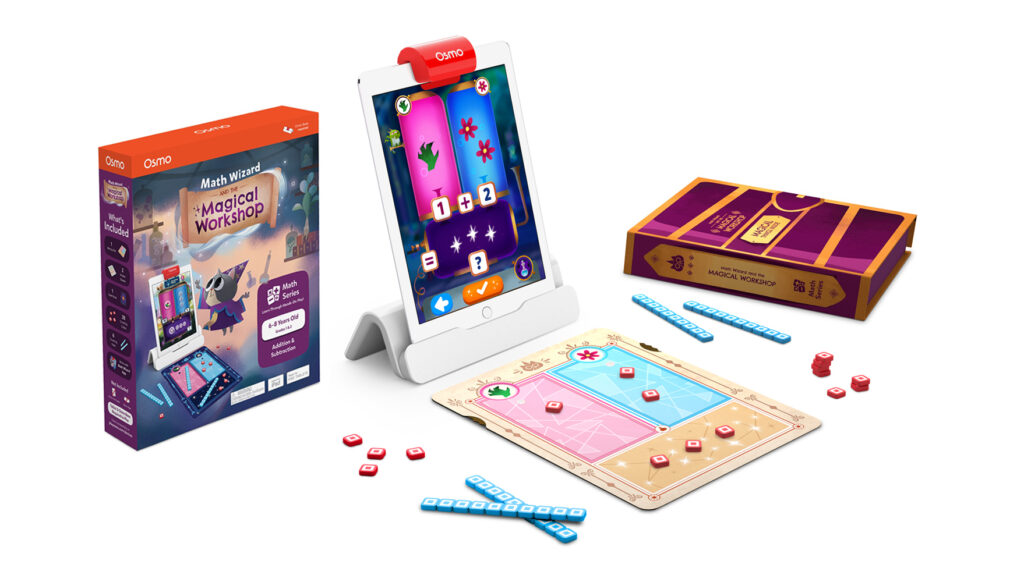
Magical Workshop is an educational game for ages 6-8, focusing on addition and subtraction. Players create potions by following a recipe and assigning a “magic sparkle” to each ingredient to brew a potion.
For example, a shrinking potion that calls for 1 eyeball + 2 mushrooms, requires placing the correct number of ingredients on the mat and adding “sparkles” equal to the number of ingredients.

Key hardware features
- Magic potions mat: A double-sided mat with two sets of wheels to select recipe ingredients. Made from layering multiple sheets of paper board and rivets
- Counting rods & cubes: Used to count out ingredients and sums for the potions. Made from injection molded ABS with pad printed art.
- Potions booklet: Allows players to discover and record potion recipes with ingredient stickers. Made from sewn bound paper and matte sticker sheets.
Prototyping process
Once the team established the core game concept of solving math equations disguised as potions recipes, my focus was to prototype the game hardware that would bring the concept to life.
The first hardware component was to create a playmat for ingredient selection. My goal was to keep the magical aspect of “creating potions” while ensuring that the ingredient selected was clear to computer vision. After playtesting, we found that the hidden wheel was the most exciting choice for the kids.

Prototypes: Ingredient sliding selector (L), Ingredient Tokens (M), Ingredient wheel (RI)
The second hardware aspect was to redesign the widely used rods & cubes math manipulatives. To facilitate successful computer vision detection, I prototyped hundreds of forms with different shapes and markings. Based on the playtesting results and requirements of computer vision, we chose flat pieces with simple frames printed on the surface.

Challenges
The playmat design required rotating disks to be sandwiched between two boards. The initial factory samples of our playmat were created by stacking multiple precut sheets of chipboard. This resulted in messy and inconsistent alignment which would cause the wheels to get stuck. We worked with the vendor to redesign a multiple step process that would ensure the disks would spin freely while keeping a clean finished product.

- The inner holes are precut, the middle layer is nick-cut for gluing alignment.
- The middle and bottom layers are glued together and the nick-cut portion is removed.
- The spinning wheels are added, the top sheet is glued, and rivets are attached.
- The entire outer edge of the mat is die cut.
- The end result is consistently aligned layers, free spinning wheels, and a clean cut playmat.
Summary
As the sole hardware designer, this project strengthened my skills in balancing multiple criteria such as game experience and consistent manufacturability. The goal was to achieve seamless integration between the hardware and game, resulting in an immersive game experience.
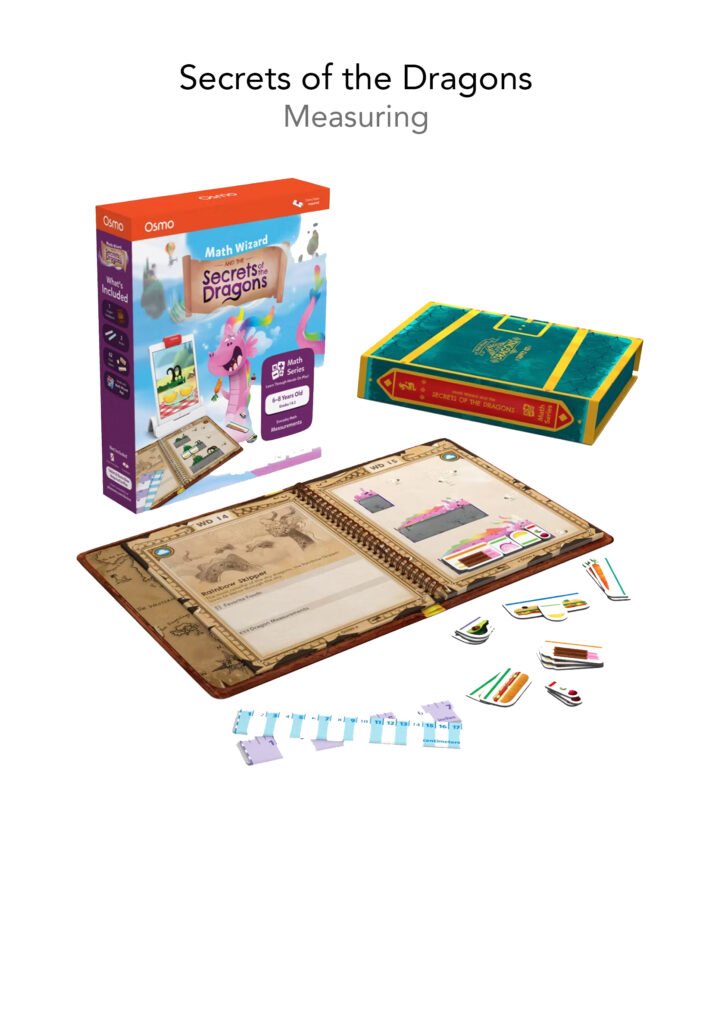
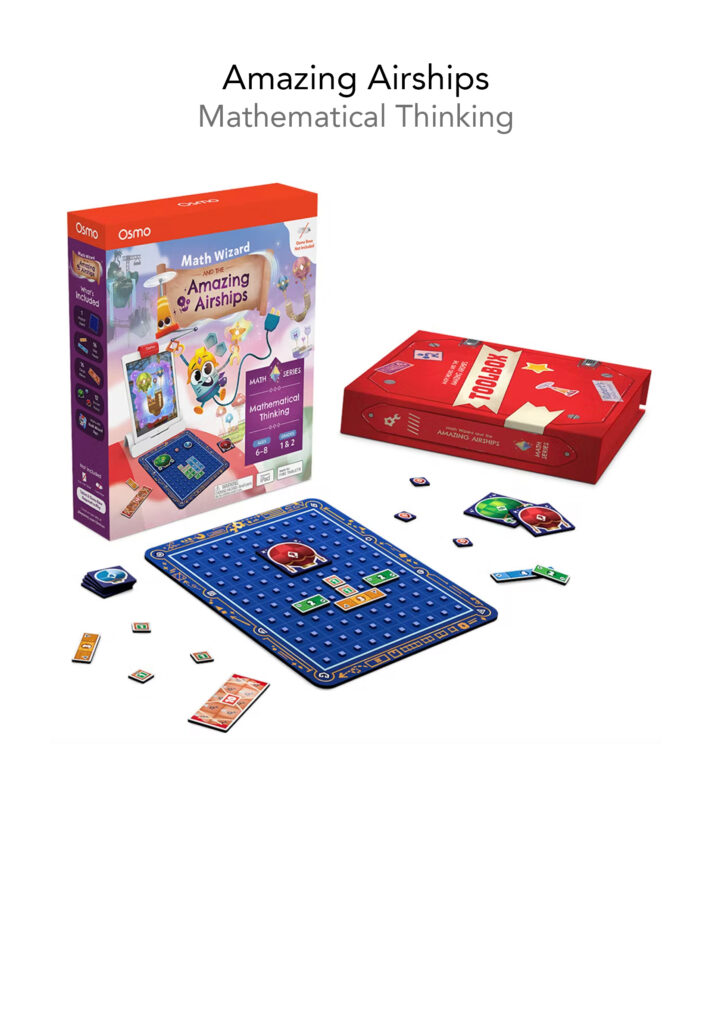
Check out another project in the same Math Wizard series:
Focused on quality control for the tight tolerances of computer vision. Explored new materials and established quality assurance processes for future re-orders.
Creatively solved product issues by leveraging knowledge of paper manufacturing processes to produce quality game pieces.
